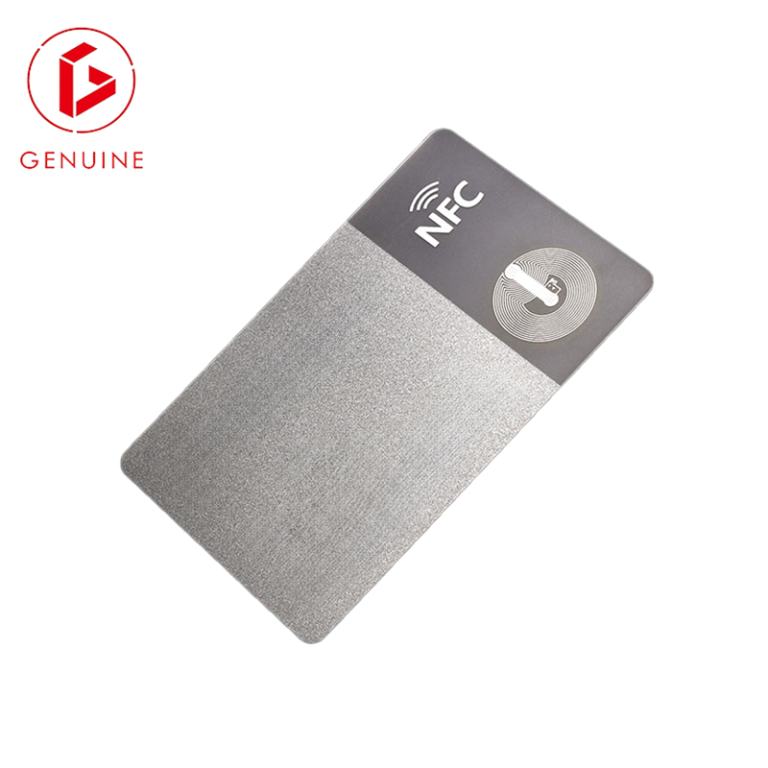
You specify smart cards by function — access level, chip type, print finish — but most buyers never see what sits between the two printed faces. That hidden sandwich of plastic, antenna, and silicon is exactly where quality is won or lost. Understanding how a card is built turns vague supplier claims like “high quality” and “factory direct” into things you can actually verify, and it lets you write an RFQ a serious manufacturer will take seriously. This guide walks through each manufacturing stage and flags the checkpoints that separate a card built to last from one that fails in the field.
The Layered Anatomy of a Smart Card
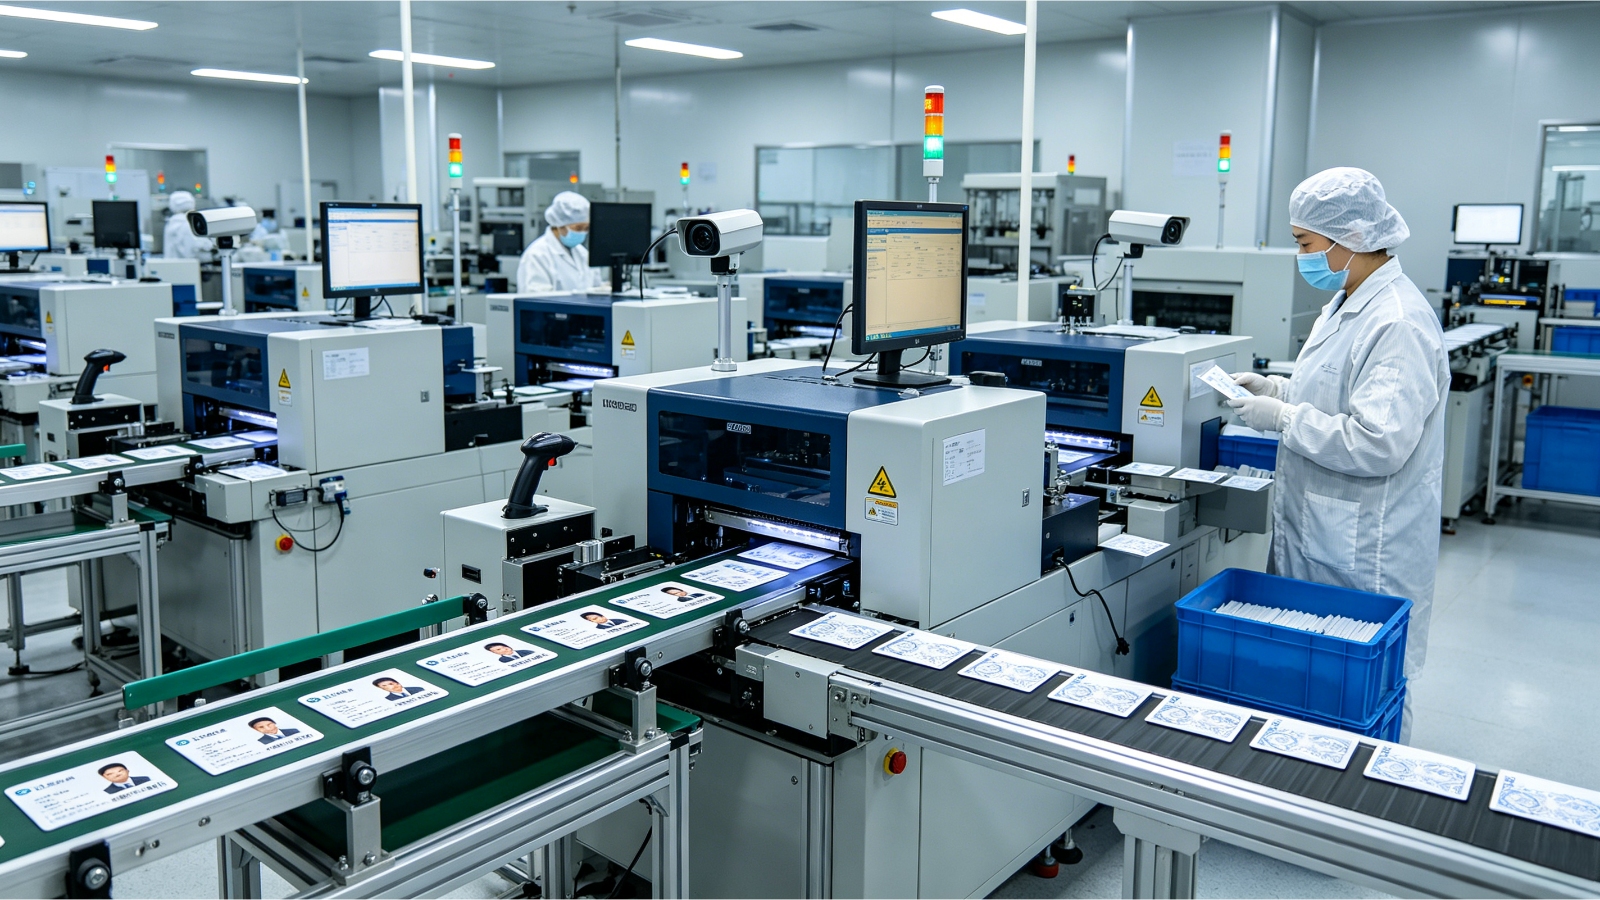
A smart card is a laminated stack, not one solid piece of plastic. The core — typically PVC, PET, or polycarbonate — sets the card’s stiffness, heat tolerance, and lifespan, and its thickness is standardized by ISO/IEC 7810 at the familiar CR80 size. On top of the core sits the inlay, the layer that carries the antenna and the chip, which is then buried between printed overlay sheets and fused together under heat and pressure.
The practical takeaway for buyers is simple: the core material — not the surface print — determines how the card behaves after three years in a wallet, on a lanyard, or at an outdoor gate. A thin, low-grade PVC core can look identical to a polycarbonate one on day one yet crack, warp, or yellow where the PC card will not. When your program demands long life or high security, the core grade is the first spec you should pin down — our comparison of polycarbonate vs PVC vs PETG for government ID explains which to choose.
Inlay and Antenna — the Wireless Heart of a Contactless Card
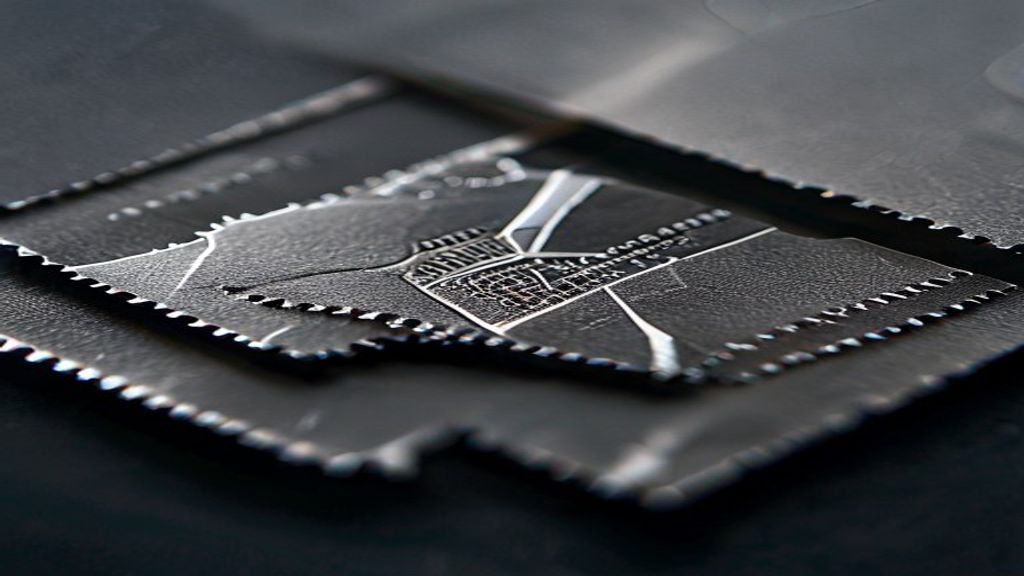
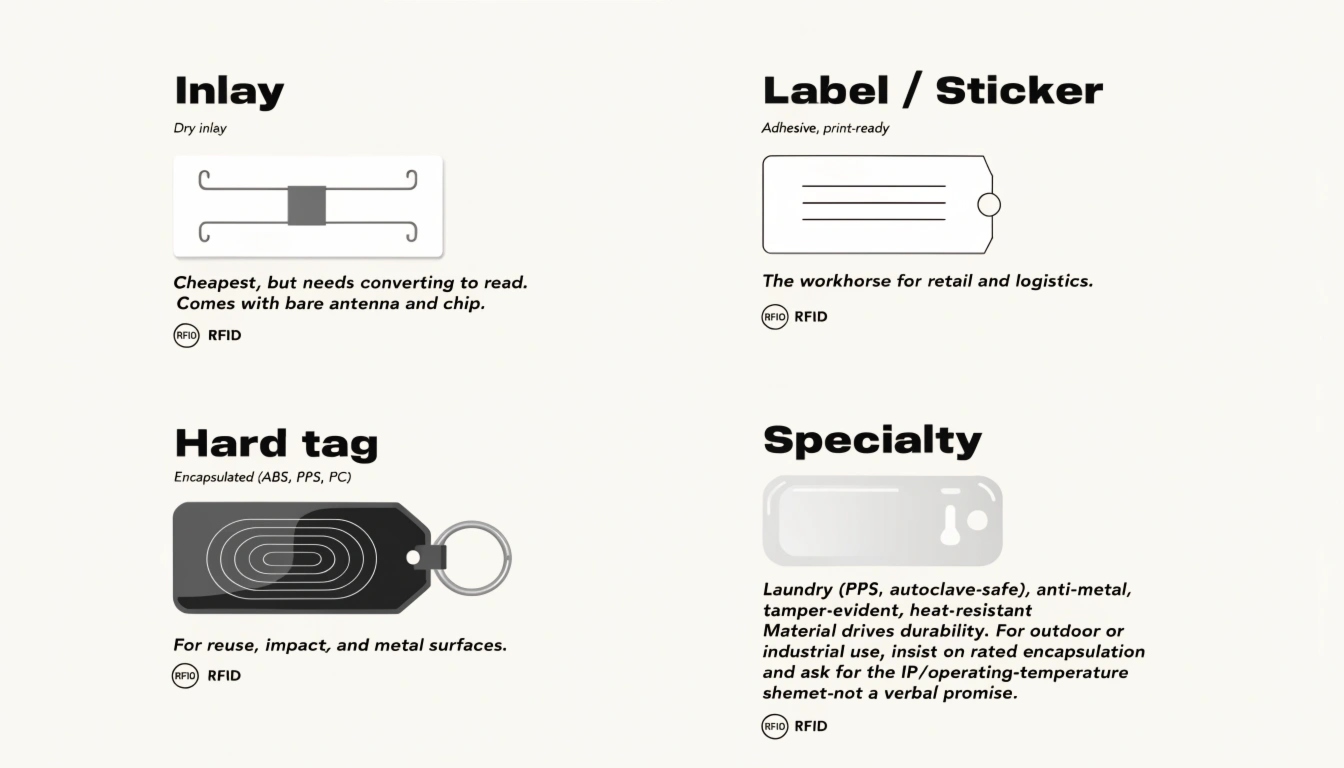
The inlay is the part most buyers never see and most underestimate. For a contactless card it is a thin PET sheet carrying an etched or printed antenna coil bonded to the chip. The antenna’s geometry, the number of turns, and how precisely it is tuned to 13.56 MHz decide your real read range and how reliably the card reads at the reader. A card built to ISO/IEC 14443 for proximity operation relies entirely on this invisible loop.
A poorly tuned antenna is the single most common cause of short read distance and intermittent “card not detected” failures in the field — and it is invisible until the cards are already in circulation. Buyers should ask for the inlay’s origin and its tuning data, and confirm conformance to the relevant standard. If you are still deciding which frequency fits your deployment, our LF vs HF vs UHF frequency selection guide maps read range and environment to the right choice.
Chip Embedding and Module Bonding
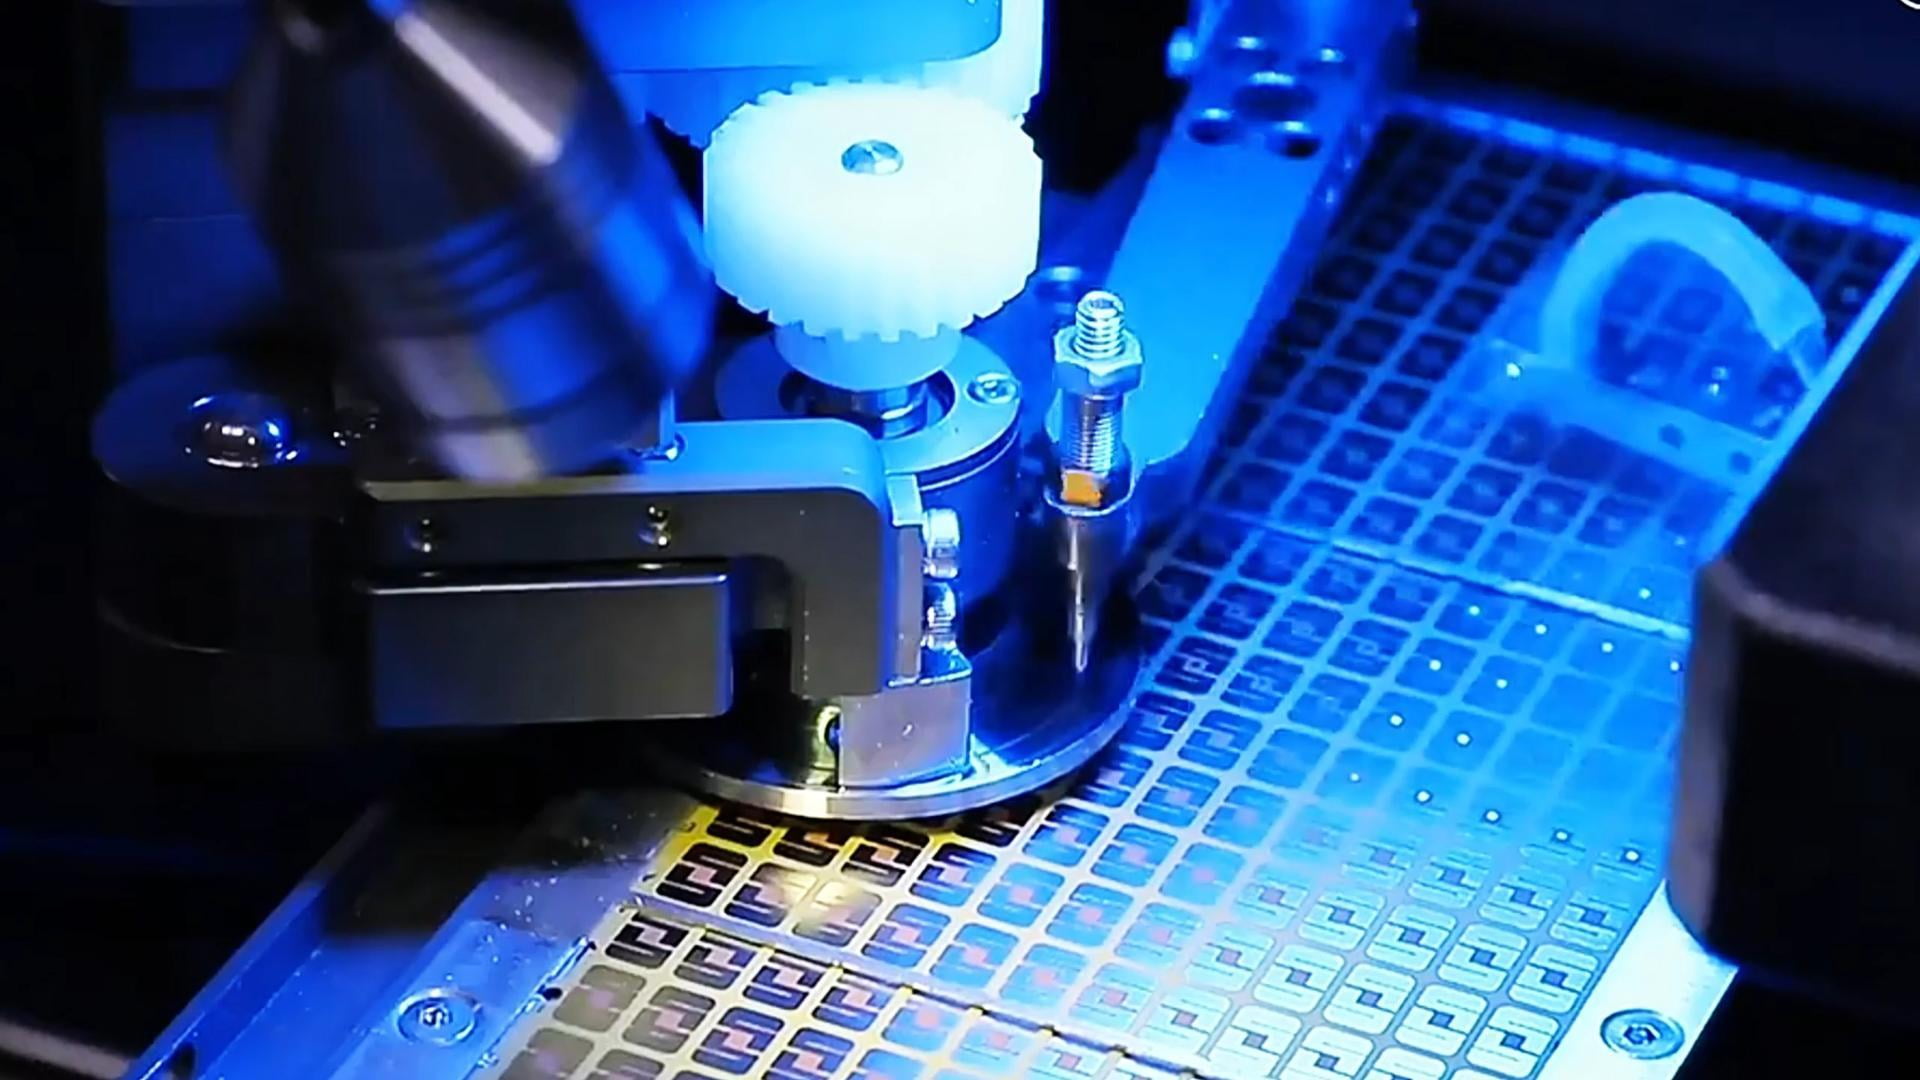
Contact cards use a module: a packaged chip with gold-plated contacts, dropped into a milled cavity and glued in place. Contactless and dual-interface cards instead carry a bare die that is wire-bonded under the antenna and protected by a bump or encapsulant. In every case, the bond between silicon and plastic is a well-known failure point.
The contact module’s adhesion is a top field-failure mode — a module that lifts or de-laminates means a card that suddenly stops working. Require an adhesion or peel test and ask how the supplier controls it on every batch. The chip itself runs an operating system (most commonly Java Card on a GlobalPlatform secure element); our guide to smart card operating systems explains what that means for your applet and key-management needs, and GlobalPlatform publishes the specifications behind secure card management.
Lamination — Where Cheap and Durable Cards Diverge
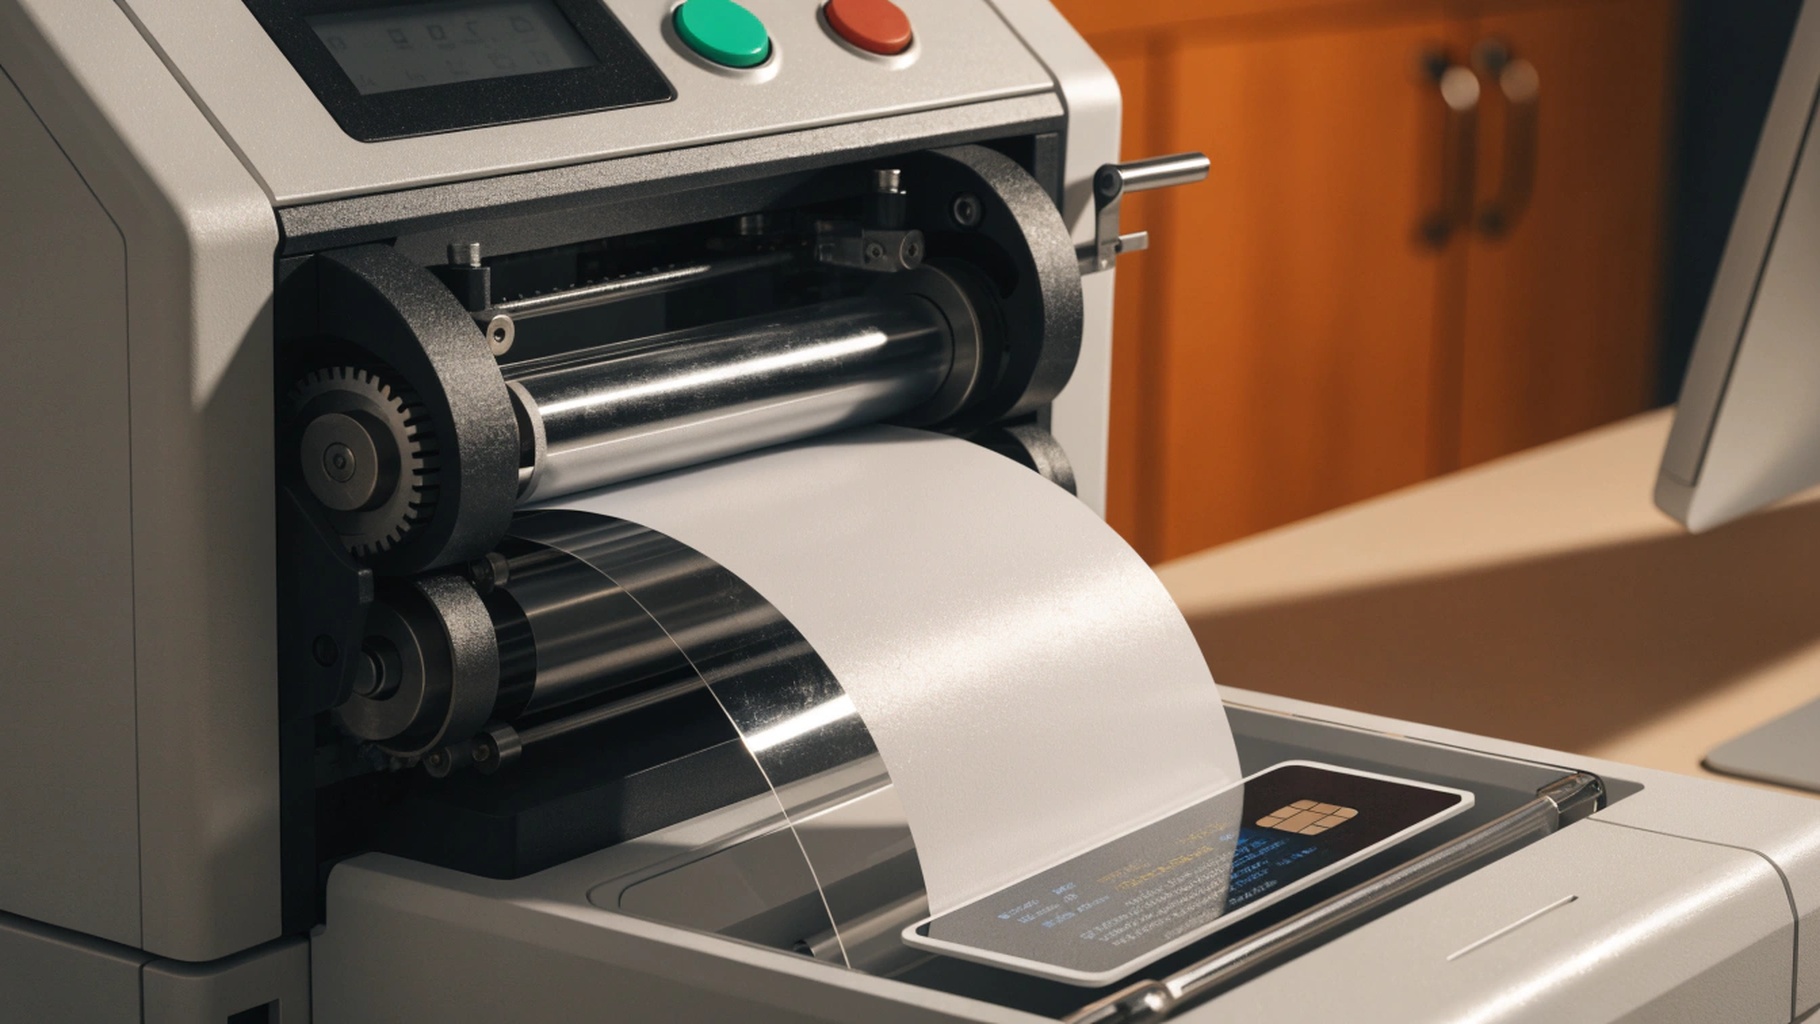
Lamination is the step that fuses the stack into one solid card. A proper high-pressure, heated lamination bonds the layers molecularly; weak or skipped lamination leaves micro-gaps that let in moisture and lead to edge lifting and print peeling. This is the stage where cut-price suppliers quietly cut corners.
Lamination is the biggest single differentiator between a card that survives years outdoors and one that delaminates within months. Polycarbonate needs a higher lamination temperature than PVC, so a factory tuned only for PVC may under-bond PC cards and ship a latent defect. Ask which laminators they run and at what temperature window for your chosen core. Durability expectations should be tied to ISO/IEC 10373-1, the standard test methods for card durability.
Personalization — Manufactured Blank vs Printed and Encoded
“Making the card” and “personalizing the card” are two different capabilities. The manufacturer produces the blank or pre-printed card body; personalization then adds the photo, name, barcode, magstripe, and chip encoding. Some factories do both; many outsource one of them.
For buyers this matters because the personalization method drives both durability and unit cost. Retransfer (reverse-transfer) printing gives edge-to-edge, abrasion-resistant graphics; dye-sublimation is fast and cheap for lower volumes; inkjet handles high-variable data. Our card printer buying guide 2026 breaks down when to bring personalization in-house versus outsourcing it — a decision that also affects lead time and how much card data you expose to a third party.
Quality Control Checkpoints to Require From Your Supplier
Before cards ship, a serious line runs several checks. The ones that matter most for buyers are:
- 100% electrical test of every chip before and after encoding — a dead chip is a dead credential, and sampling alone will miss a bad batch.
- Visual and defect inspection for print registration, scratches, and edge quality.
- Durability testing to ISO/IEC 10373-1 — bending, temperature, and chemical resistance — sampled per batch so you have evidence, not promises.
- Adhesion or peel test on contact modules to catch lifting before field failure.
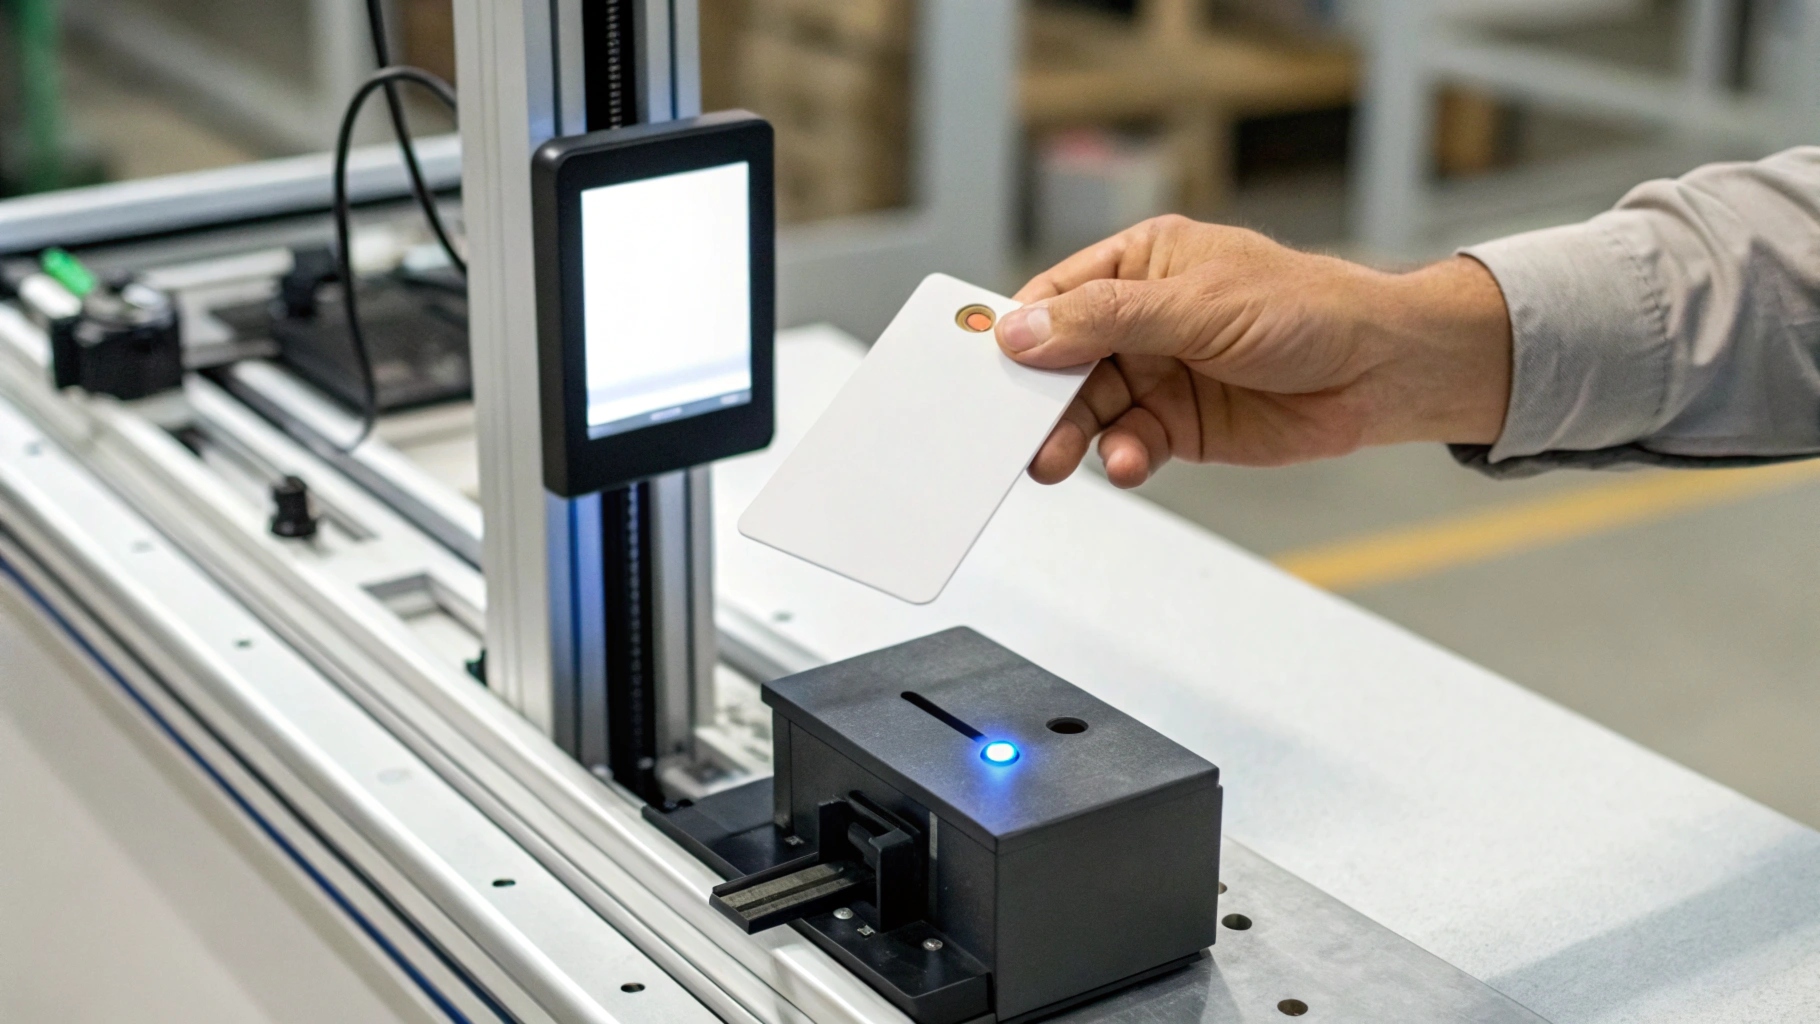
Ask for a batch QC report, not just a pass/fail stamp. The report is your leverage if a lot fails and your evidence if an audit arrives. Treating these checkpoints as a procurement requirement — rather than assuming they happen — is what separates a reliable supply relationship from a gamble.
Turning This Into Your RFQ and Supplier Checklist
You do not need to run a factory to buy like a professional. Translate the stages above into a short RFQ appendix:
- Core material and grade (PVC / PET / PC) and thickness.
- Inlay source and 13.56 MHz tuning data; confirm ISO/IEC 14443 conformance.
- Module bonding method and peel-test result for contact cards.
- Lamination temperature window for your chosen core and the laminator make.
- Personalization method and encoding format (ISO 7816 for contact, ISO 14443 for contactless).
- QC sampling plan and the batch report you will receive with every order.
A supplier who answers these concretely is one you can trust with a national-scale or long-life program; one who dodges them is a risk regardless of price. Pair this checklist with a sample order — see the cards, run your own read-range and bend tests, and compare against the supplier’s QC report before you commit to volume.
Common questions buyers ask about how smart cards are made:
Can a smart card be made without lamination? Technically yes, but unlaminated cards separate, absorb moisture, and fail early. For any program beyond a year, demand true thermal lamination.
PVC or polycarbonate? PVC suits short-life credentials; polycarbonate resists heat, chemicals, and wear for government ID and multi-year programs. Choose by lifespan and environment, not just price.
How do I know the chip works before personalization? Require 100% electrical testing at the inlay and after encoding — sampling alone leaves dead credentials in your shipment.
Ready to apply this? Request a sample set and a factory specification sheet and verify these checkpoints against real cards before you commit to volume.