You picked the chip. You specified the material. But the black stripe, the barcode, or the QR box on the card surface is where many ID programs quietly fail—at the door reader, at the scanner, or a year later when the print wears off. For B2B buyers, the printed or magnetic mark is not decoration; it is the part your existing readers and workflows actually touch. This guide compares the three on-card machine-readable marks—1D barcode, 2D QR code, and magnetic stripe—so you can choose the one (or the combination) that matches your readers, your data needs, and your budget, and write it correctly into your purchase specification.
Why the Mark on Your ID Card Still Matters
Even as smart chips and mobile credentials spread, printed and magnetic marks remain the lowest-friction way to connect a physical card to a local system. A barcode or QR code can be read by an inexpensive scanner or a phone camera with no integration; a magstripe still drives millions of legacy door and point-of-sale readers. The right mark lets you interoperate with equipment you already own, instead of ripping it out and re-issuing every credential. The trade-off is that these marks live on the card surface, where print wear, placement, and contrast decide whether they survive daily use—a factor often overlooked until cards start failing at the turnstile.
For most organizations this is where an ID card issuance program either runs smoothly or stalls: the chip is specified, but the surface mark that front-line readers depend on is left vague.
Barcode on ID Cards: The Lowest-Cost, Most Universal Mark
A 1D barcode (typically Code 128 or Code 39 under GS1 or ANSI symbology rules) encodes a short string—usually a card number or facility code—and is read by laser or image scanners that cost almost nothing. It is the cheapest mark to print and the easiest to read across mixed hardware, which is why it still dominates employee badges and access cards. The limits are real: a barcode holds little data (a few dozen characters at most), and it depends entirely on print quality and a clean “quiet zone” at each end.
Under ISO/IEC 15416, barcode print quality is graded on contrast, edge sharpness, and decodability—a worn or low-contrast barcode fails silently at the reader, with no alert until a person is stuck outside. Keep the mark dark-on-light, protect it with an overlaminate, and verify a sample against your actual scanners before bulk production.

QR Codes on ID Cards: Linking to Databases and Verification Portals
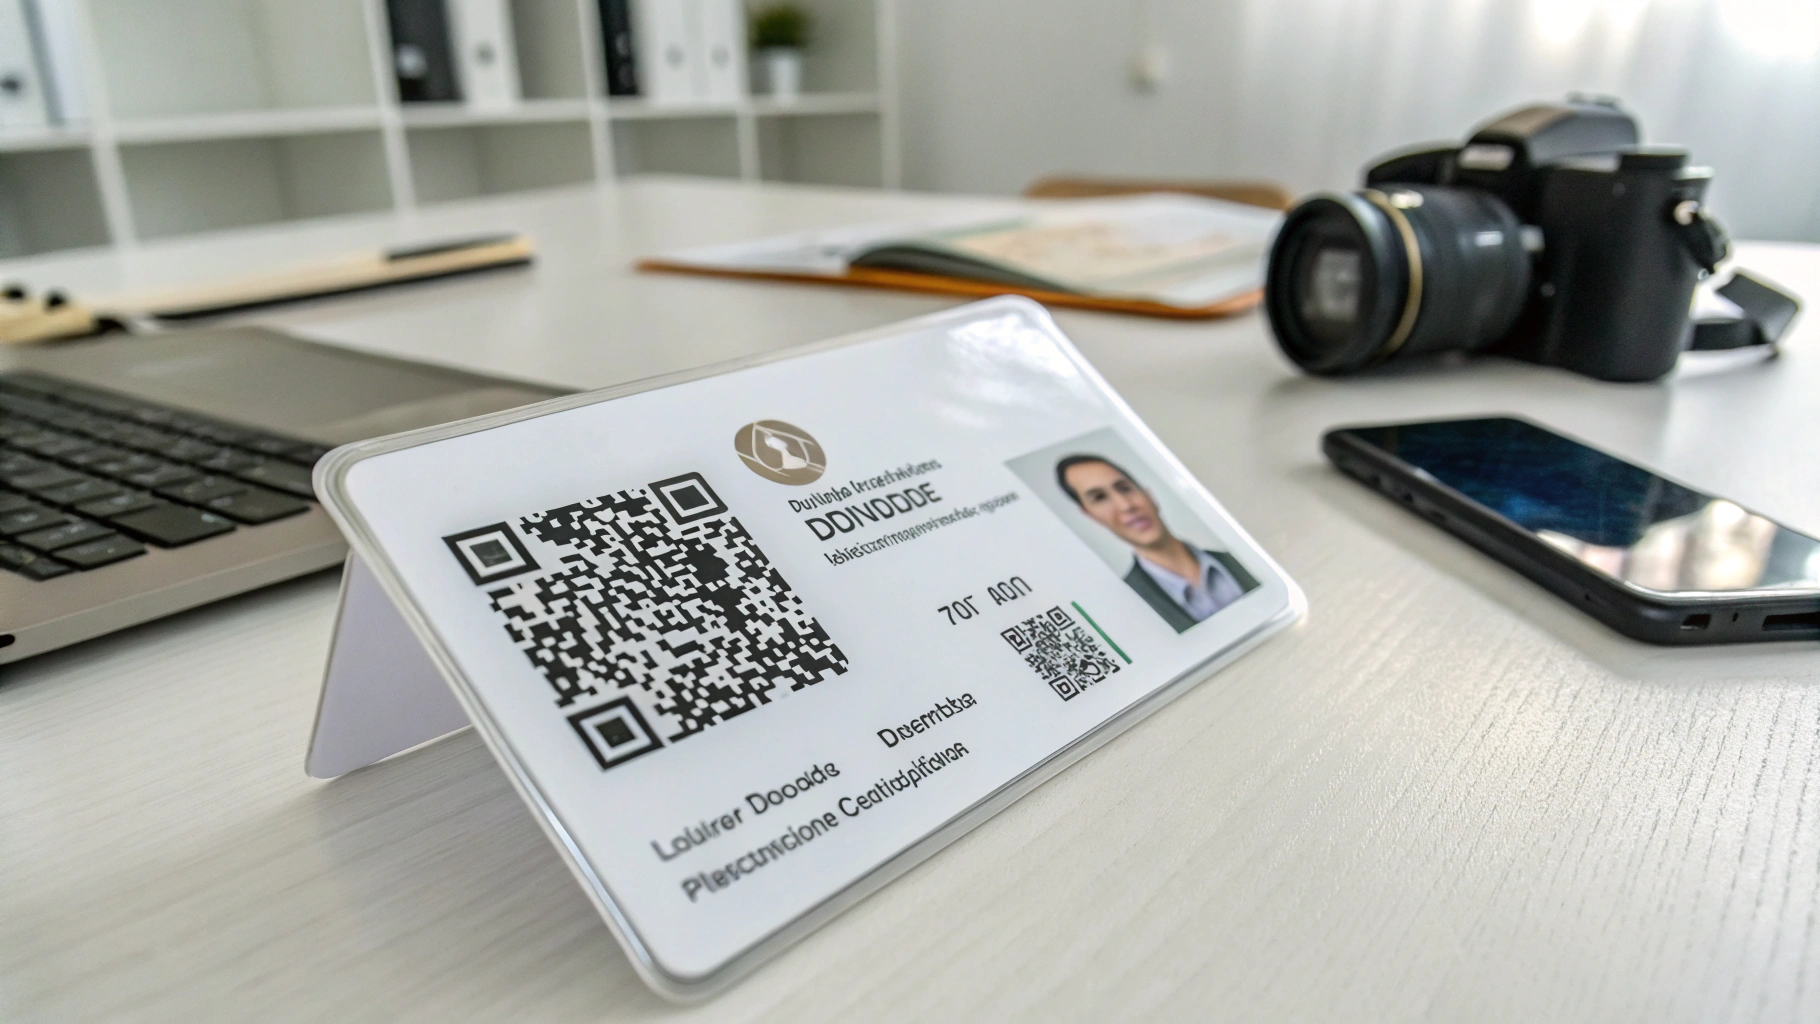
A 2D QR code (defined by ISO/IEC 18004) stores far more than a barcode—URLs, IDs, or signed tokens—and is read by any 2D imager or smartphone camera. That makes QR ideal when the card should point to a live record: a verification portal, a visitor profile, or a training-certificate lookup, rather than carrying the data itself. For distributed teams and contractors, a scannable link is often simpler than provisioning chip access for a short visit.
The cost is placement discipline. A QR needs a four-module quiet zone around it and enough size to be read at the intended distance. Printed too small or partly covered by a lanyard slot, it becomes unreadable—so specify the minimum module size and clear margin in your artwork, not just “add a QR.”
Magnetic Stripe on ID Cards: Legacy But Still Required
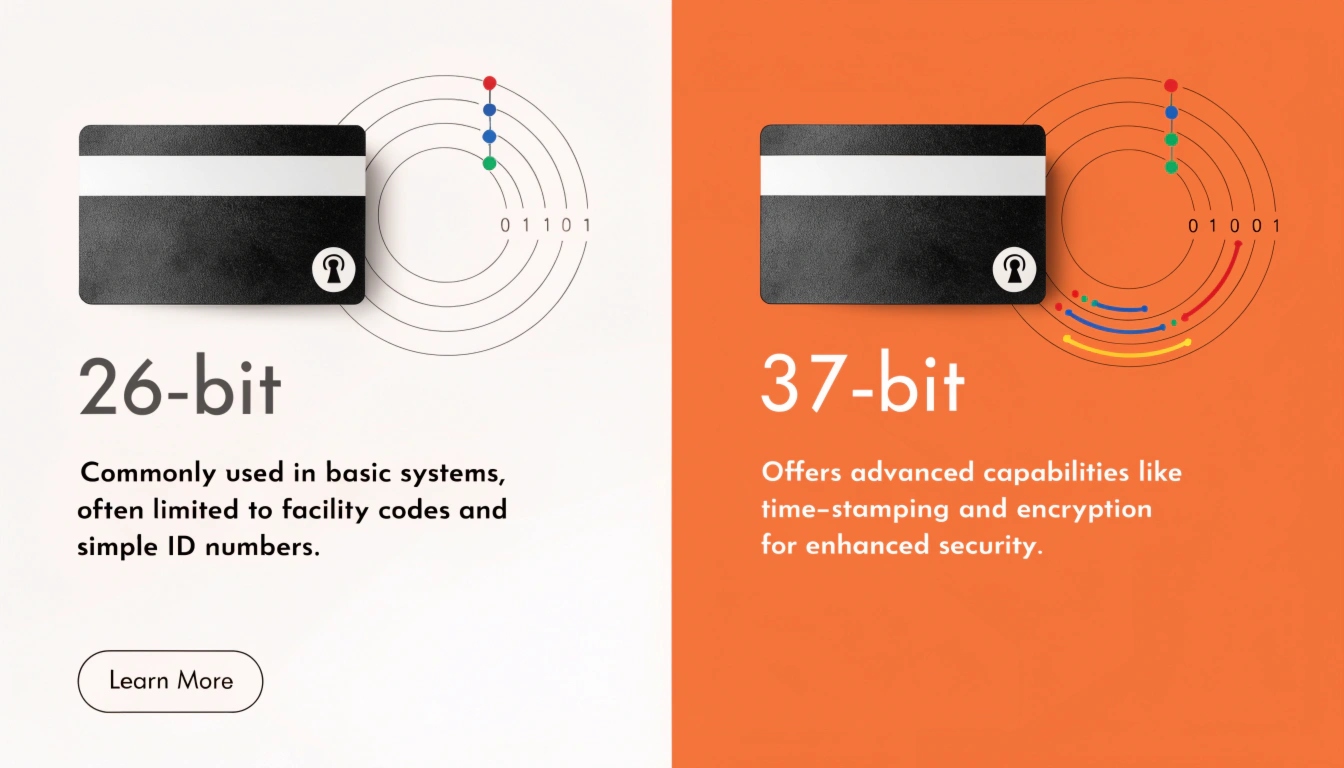
The magnetic stripe (defined by ISO/IEC 7811, three tracks) is the oldest mark here and the one buyers most want to drop—yet it persists for a reason. Many legacy access readers, time-and-attendance terminals, and POS systems still read only a stripe, and replacing that hardware is often more expensive than keeping the stripe on the card. In multi-site programs with mixed-era infrastructure, the stripe is the common denominator.
The weakness is physical: a magstripe is vulnerable to demagnetization near phones and speakers, and to abrasion from daily swiping. Specify HiCo (high-coercivity) over LoCo for anything that must survive a multi-year card life—LoCo stripes are cheaper but lose data far more easily.

Barcode vs QR vs Magstripe: How They Compare
The table below summarizes the practical differences buyers care about. There is no single winner; the choice follows your readers and your data.
| Factor | 1D Barcode | 2D QR Code | Magnetic Stripe |
|---|---|---|---|
| Data capacity | Low (short ID) | High (URL / record) | Medium (3 tracks) |
| Reader cost | Very low | Low (phone / imager) | Low–medium |
| Durability risk | Print wear | Print wear | Demag / abrasion |
| Best fit | Legacy numeric IDs | Link to live data | Legacy stripe readers |
| Quiet zone | Required at ends | 4 modules around | N/A (back of card) |
Many programs combine marks—QR for verification plus a magstripe for legacy doors—so the card works in both old and new systems without a forklift upgrade.
Coexistence Rules: Marks Next to a Smart Chip Without Interference
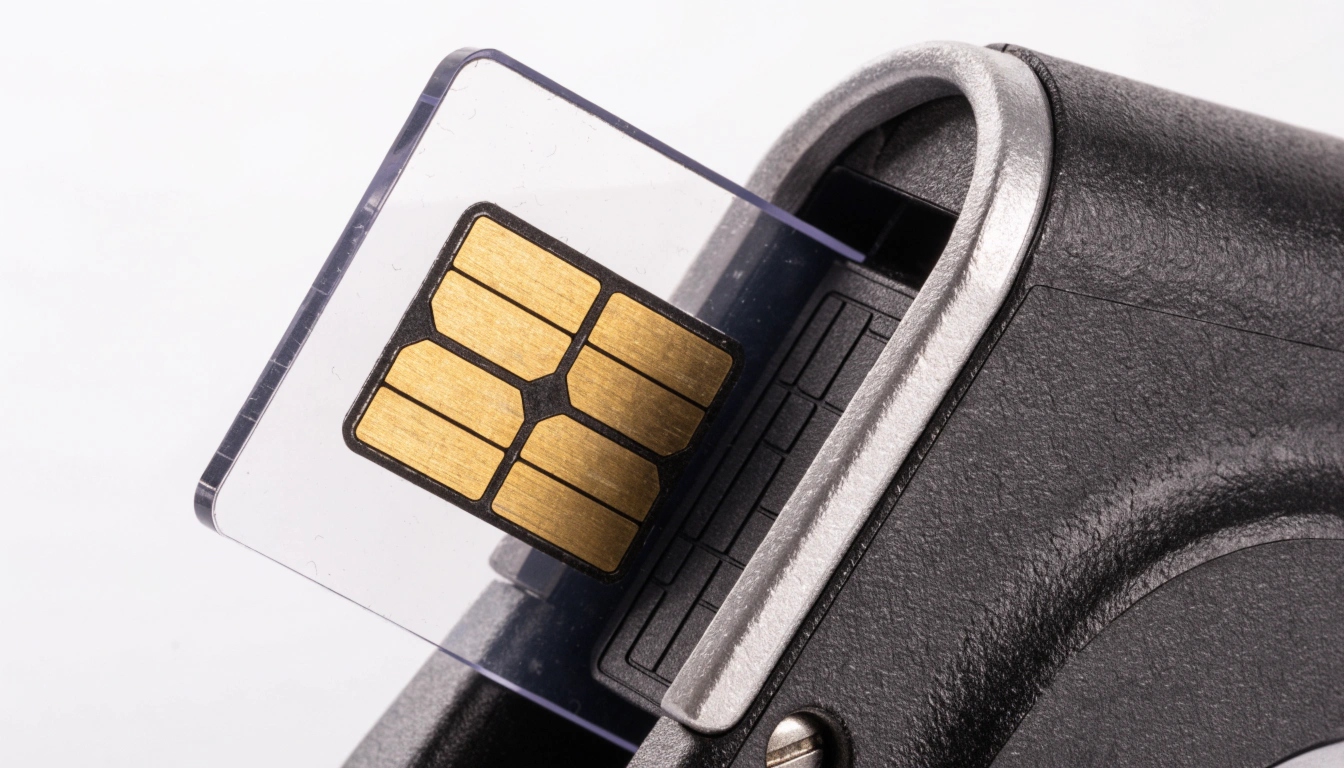
Printed and magnetic marks are electrically passive, so they do not interfere with a contact or contactless chip—but placement still matters mechanically. A contactless (RFID) antenna loops around the card edge, so keep printed marks and the magstripe away from the border to avoid covering the coil. Put the chip module on the front, keep the magstripe on the back, and place barcode or QR in the central printable area.
Following the card’s mechanical map—derived from your chosen chip and antenna layout—prevents both signal loss and unreadable print. This is one reason the mark decision should be made together with smart-card chip selection, not as an afterthought at print time.
Print and Placement: Quiet Zones, Contrast, and Artwork That Avoids Rejects
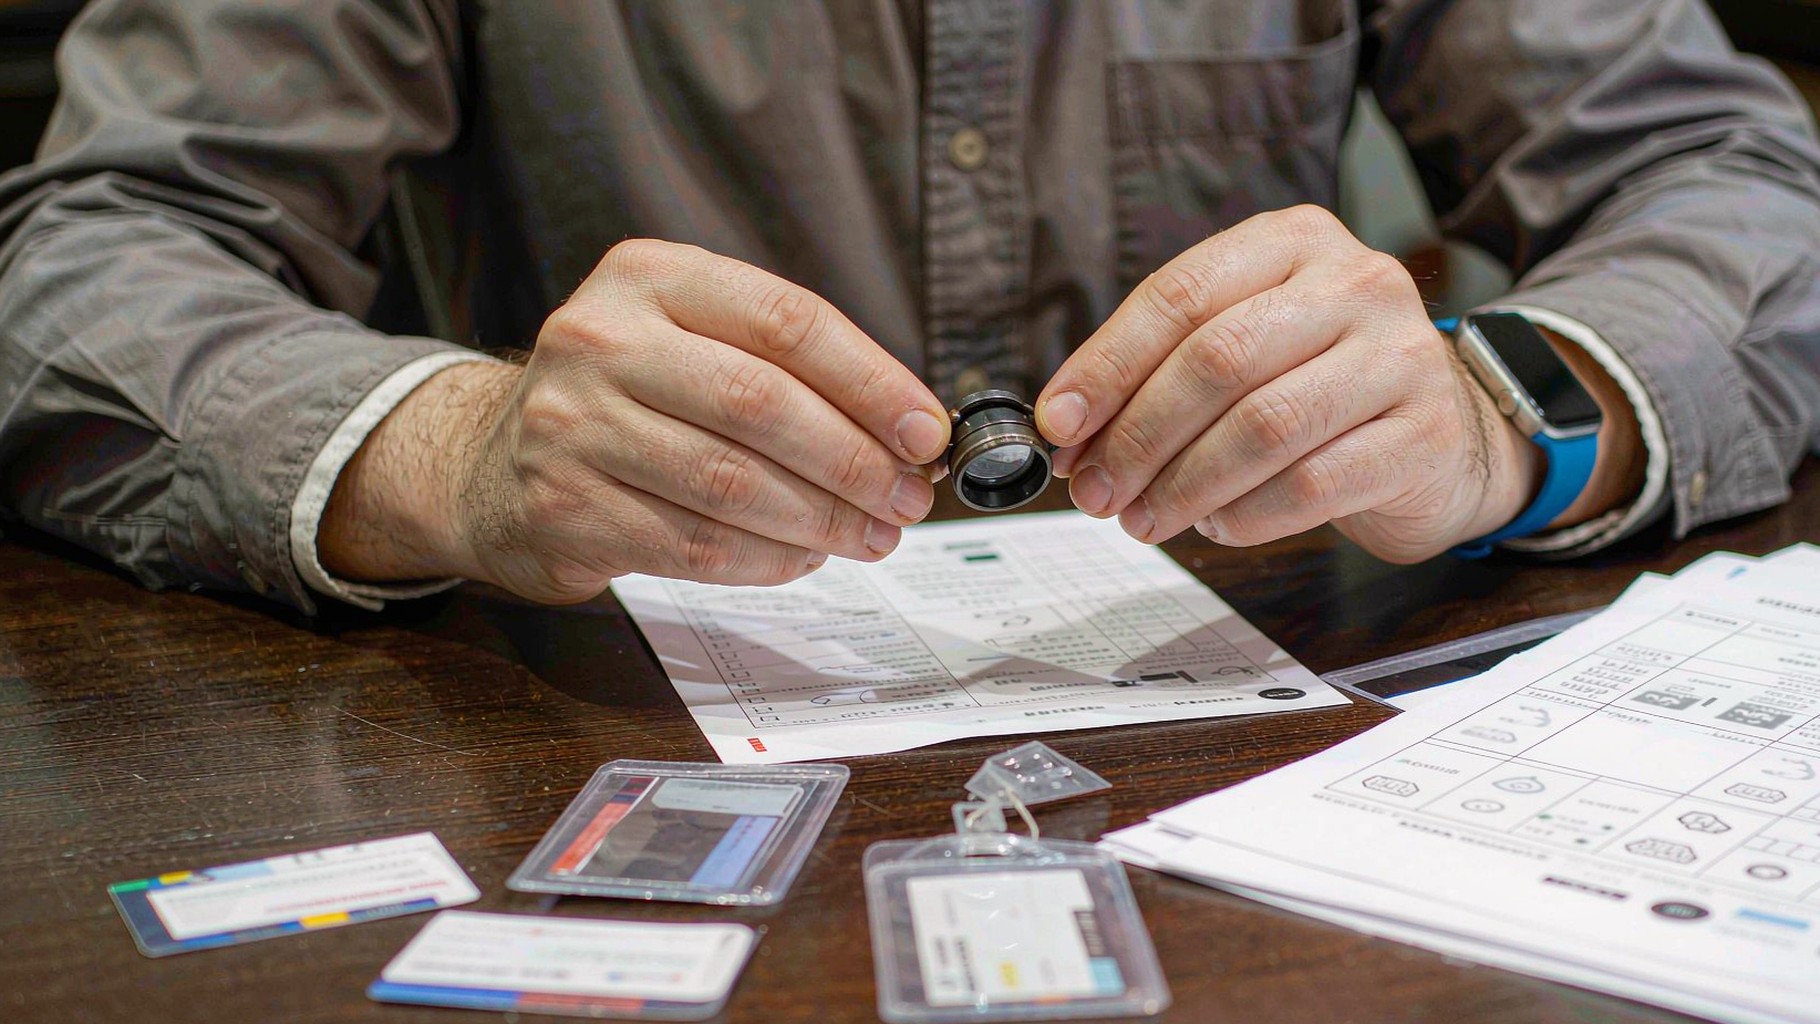
Most mark failures are artwork problems, not technology problems. Keep a clear quiet zone (blank margin) around barcodes and QR codes, print dark-on-light with enough contrast, and protect the surface with an overlaminate so the mark survives swiping and handling. Submitting print-ready artwork that respects these rules is what keeps a card factory from rejecting your file or shipping unreadable cards.
Buyers should hand their supplier the same card artwork specifications checklist used for full-color print: bleed, CMYK, chip and antenna keep-out zones, and contrast minimums for any machine-readable mark.
How to Specify the Right Mark in Your RFQ
Turn the decision into a line in your purchase order. Specify: (1) which mark(s) and where on the card; (2) the symbology and data (Code 128, QR with URL, HiCo magstripe); (3) minimum print contrast and quiet-zone requirements; (4) whether the mark must coexist with a chip and on which side; (5) sample approval before bulk. A one-page RFQ that states the mark precisely is what separates a card that “works on arrival” from one that needs a rerun.
- List every mark and its exact position (front/back, offset from edge).
- Name the symbology and the data it must carry (numeric ID, URL, track format).
- Set a contrast and quiet-zone minimum, and require a first-article sample.
- Confirm coexistence with the chip layout so nothing overlaps the antenna.
Use a ready smart-card RFQ template as your starting point, and always request samples before a full order so you can test the mark against your actual readers. For higher-assurance programs, align mark and reader choices with the credential guidance in NIST SP 800-116r1 and the FICAM framework.