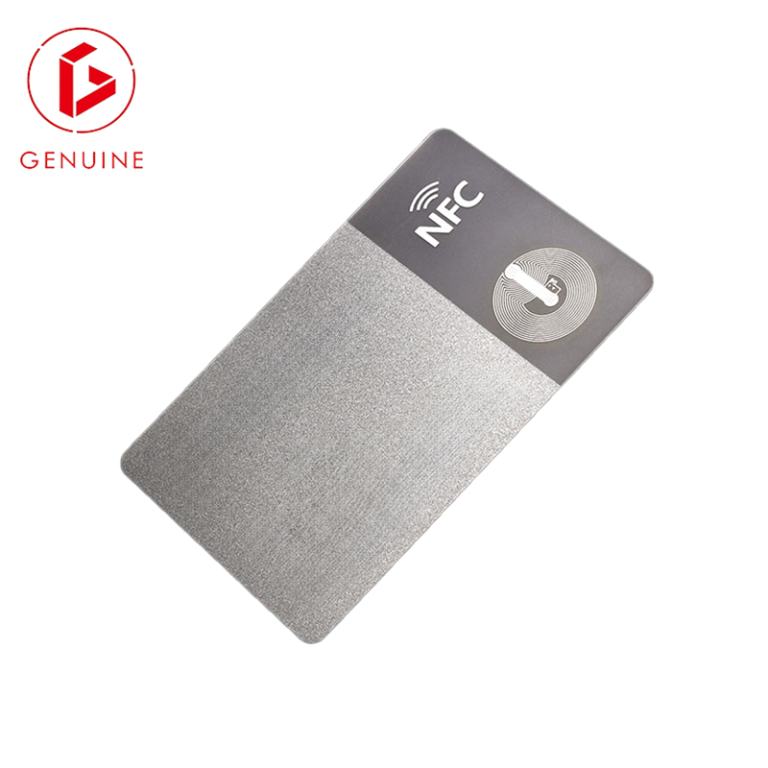
You signed the purchase order, the factory shipped on time, and a pallet of 50,000 cards just landed at your receiving dock. The temptation is to sign the delivery note and move on. But for B2B buyers of smart cards, RFID credentials, and secure ID media, the receiving bay is exactly where costly mistakes either get caught — or get through. A single mis-encoded batch can stall an access-control rollout, fail a government tender’s acceptance criteria, or trigger a card-for-card replacement that costs more than the original order. This guide gives you a practical, repeatable receiving-and-acceptance checklist: the same discipline a disciplined sourcing or security team uses to turn “it arrived” into “we can trust it.”

Why a Receiving Inspection Pays for Itself
Counterfeit or wrong-spec chips, silent encoding errors, and lamination that fails after six months rarely announce themselves at the dock. They surface in the field — at the door, at the gate, in the reader — where the cost of a mistake is no longer a phone call but a recall. At a 1% defect rate in a 50,000-card order, that is 500 credentials that may not work when a person needs them; if each failed card blocks an employee, a transit rider, or a citizen, the downstream cost dwarfs the hour it would have taken to inspect.
Government and payment programs frequently require documented incoming inspection as part of acceptance. U.S. PIV and federated-ID programs publish acceptance guidance through FICAM / idmanagement.gov, and payment schemes define encoding and personalization acceptance through EMVCo. The principle is the same for every buyer: the cheapest place to find a defect is before you pay the balance. Catching a bad lot at the dock costs a conversation; catching it in deployment costs a recall.
Before the Pallet Arrives: Build Your Inspection Kit
A fast, defensible inspection depends on having the right references and tools ready before the carton is opened. Assemble them as part of your purchase process, not after the truck leaves:
- The signed specification sheet and PO — the exact reference the lot is judged against (materials, thickness, encoding, personalization, packaging).
- The sampling standard and your agreed AQL — ANSI/ASQ Z1.4 or ISO 2859-1, with the acceptance level written into the contract.
- Test gear — a contact card reader, a contactless (ISO/IEC 14443) reader, a magnetic-stripe coercivity/verification tool, a digital caliper, a jeweler’s loupe or microscope, and a controlled-light area for visual checks.
Having these on hand means you can open the carton and start in minutes, not days. If you are weighing in-house verification against outsourcing the whole job, our card printer buying guide lays out the trade-offs of owning the personalization and test loop versus relying on the supplier.

The Sampling Plan: How Many Cards to Open
You cannot test every card, so you sample by a recognized attribute-sampling standard. The Acceptance Quality Limit (AQL) is the worst tolerable defect rate in the sampled batch, and General Inspection Level II is the usual default. The standard maps lot size to sample size — for example, a lot of 50,001–90,000 cards calls for a sample of 200 at AQL 1.0, accepted only if no more than five defects are found in the sample. AQL sampling is explained in plain terms by ASQ’s sampling resources.
Two rules protect you. First, agree the AQL and sample size in the contract before you order — never negotiate it at the dock. Second, separate the defect classes up front: security or functional failures are “critical” and should be judged at AQL 0 (any one is a lot reject), while cosmetic issues are “minor” and judged against your agreed AQL.

Visual Inspection Checklist
With the naked eye and a loupe, work through a fixed checklist so findings are consistent across inspectors:
- Print registration and color — match against the approved proof; look for drift, banding, or wrong Pantone.
- Personalization accuracy — name, photo, and number against the issued data file; verify no mismatches or duplicates.
- Hologram and overlay alignment — tamper features seated correctly and not clipped.
- Edge and lamination quality — no delamination, orange-peel, or sharp edges; check for debris trapped under the film.
- Surface defects — scratches, foxing, or handling marks outside tolerance.
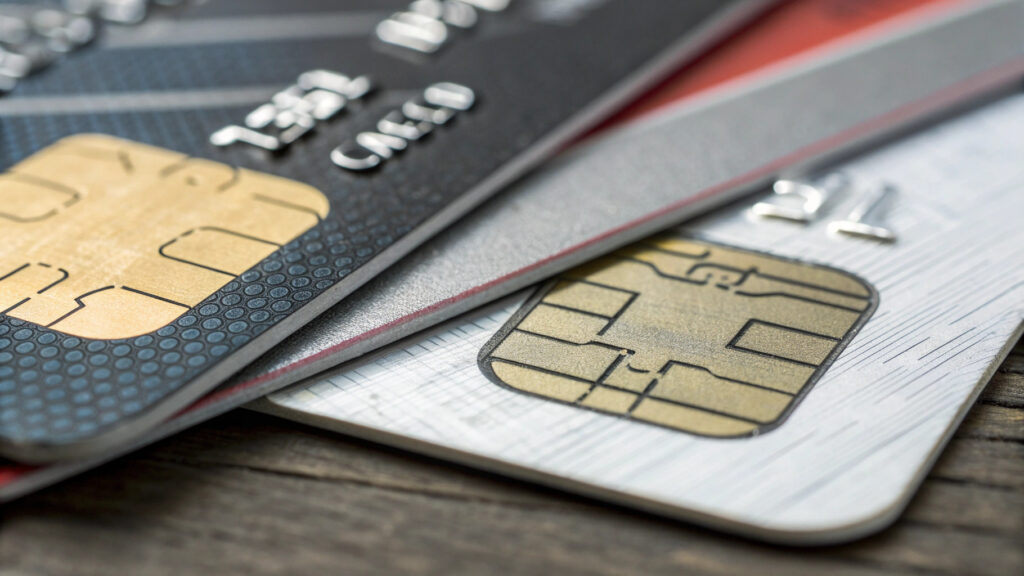
A misregistered hologram is not cosmetic — it can void a tamper-evidence claim a buyer is paying for. Understanding how a card is built helps you spot these faults quickly; our explainer on how smart cards are made shows the layer stack you are really inspecting.

Electrical and Functional Checks
A card must work, not just look right. Verify function against your actual deployment, not just a lab reader:
- Contact chips — read the ATR and confirm the expected application loads.
- Contactless — tap on an ISO/IEC 14443 reader and confirm the UID and application; the ISO/IEC JTC 1/SC 17 committee maintains the 14443 family of standards that define this behavior.
- Magnetic stripe — verify coercivity (HiCo vs LoCo) and that all tracks decode.
- Pre-encoded data — check any serialization or UID against your master file so a cloned or swapped card is caught.
The dangerous failure is the card that reads once in the lab but drops out in the field. Test a sub-sample on your real readers and gateways. For chip-level behavior, our piece on smart card operating systems explains what the applet layer should do, and GlobalPlatform publishes the card-management specifications behind secure loading.

Mechanical and Dimensional Checks
Cards must physically fit the ecosystem. Measure thickness to ISO/IEC 7810 ID-1: 0.76 mm nominal, ±0.08 mm with a caliper, and check flatness/warpage, lamination bond (a controlled peel or bend per ISO/IEC 10373-1 test methods), and abrasion resistance. Both 7810 and 10373 are maintained by the same ISO/IEC SC 17 committee. A 0.1 mm thickness overrun is the difference between a smooth feed and a jammed personalization or issuance line — a defect that only shows up after you have paid.
Classifying Defects — and Rejecting a Lot Professionally
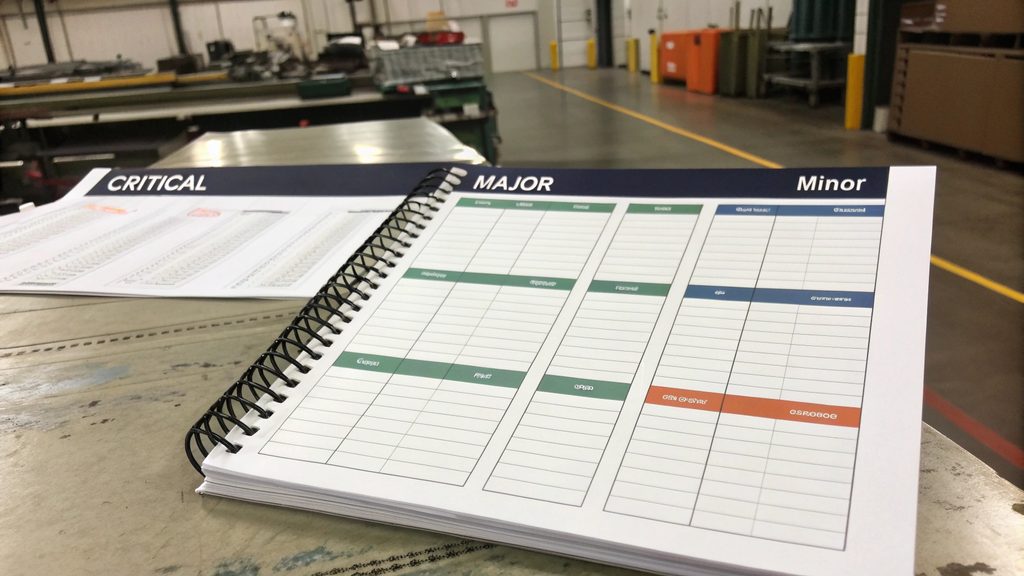
Not every blemish is a reject. Use a three-tier system so decisions are consistent and defensible:
- Critical — security or functional failure; reject the lot (judged at AQL 0).
- Major — affects function or compliance; judged against your agreed AQL.
- Minor — cosmetic, within tolerance; log and accept.
When you do reject, do it by the book: photograph the defect, quarantine the carton with a hold tag, issue a deviation report that cites the specific spec clause, and request corrective action (CAPA). Rejecting on documented evidence protects the relationship; rejecting on feel damages it. For high-assurance programs, reference the supplier’s certification claims against an independent scheme such as the Common Criteria Portal so security assertions are verifiable, not assumed.
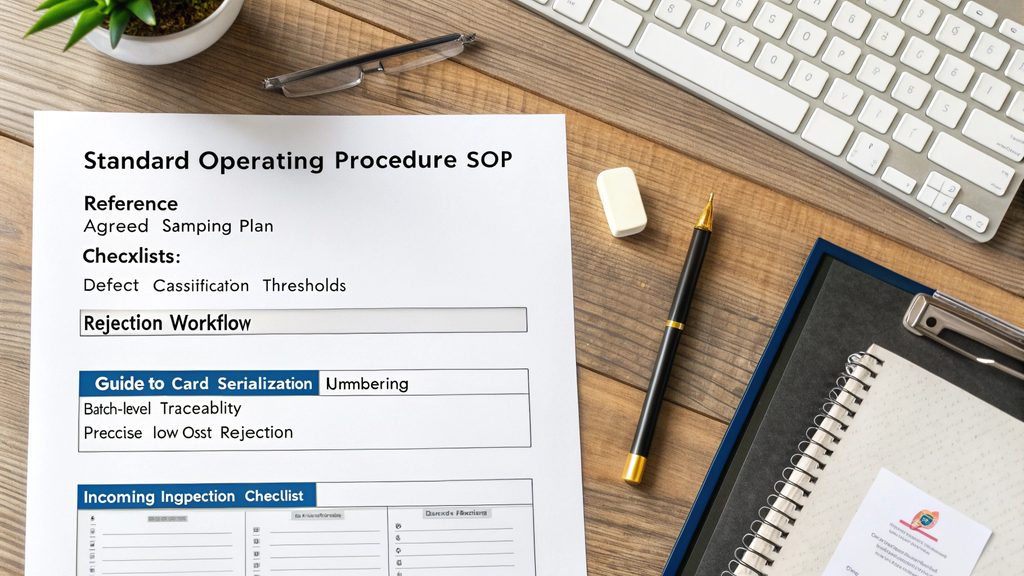
Turn This Into a Reusable Incoming-Inspection SOP
One-off checks do not scale. Write a one-page SOP: the reference spec, the agreed sampling plan, the checklists above, your defect-classification thresholds, and the rejection workflow — with a photo template and a deviation-report form attached. Tie it to your traceability program so a bad lot is traceable to a production window; our guide to card serialization and numbering shows how batch-level traceability makes a rejection a precise, low-cost event instead of a site-wide scramble.
An SOP turns a stressful dock moment into a 30-minute routine your team can run without you. If you want a head start, request physical samples and a test-report template from your supplier, or ask our team for an incoming-inspection checklist tailored to your program, region, and compliance regime.