I’ve helped hundreds of businesses streamline their security, and I know that setting up an ID system can feel like a daunting task. In this guide, I’ll show you exactly how to create professional photo ID cards that are both secure and durable. By the end of this, you’ll have a clear roadmap for your company’s identification needs.
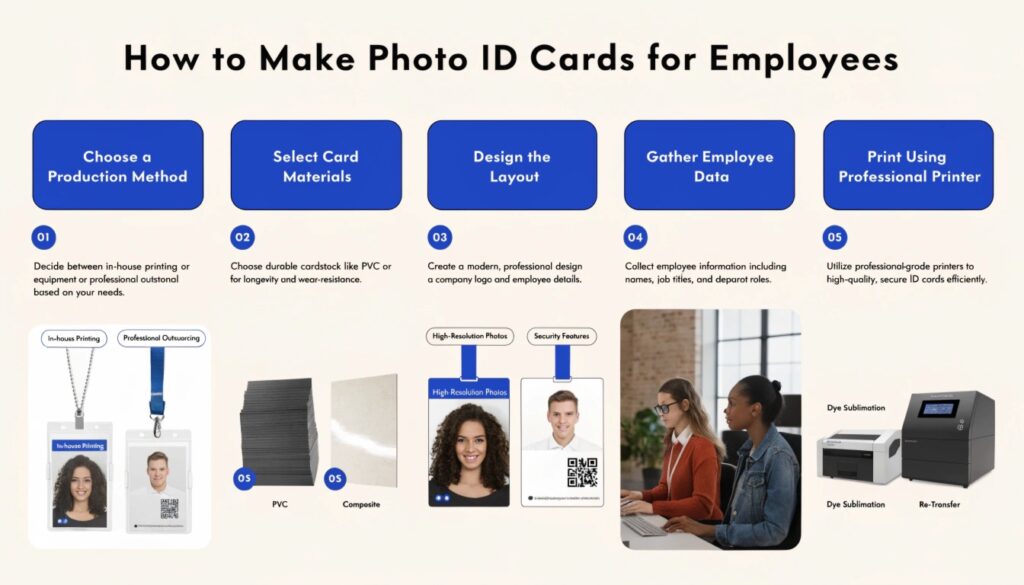
To make photo ID cards for employees, follow these five steps:
- Choose a production method (in-house printing or professional outsourcing).
- Select card materials (PVC or composite).
- Design the layout with high-resolution photos and security features.
- Gather employee data.
- Print using a dye-sublimation or re-transfer printer.
But there’s a bit more to it than just hitting “print”. Stick with me as we dive into the specific equipment and design tips you need to get it right the first time.
The Best Ways to Create Employee Photo ID Cards
When it comes to making ID cards, you generally have two paths to take. I’ve seen companies thrive with both, but the right choice depends on your specific volume and budget.
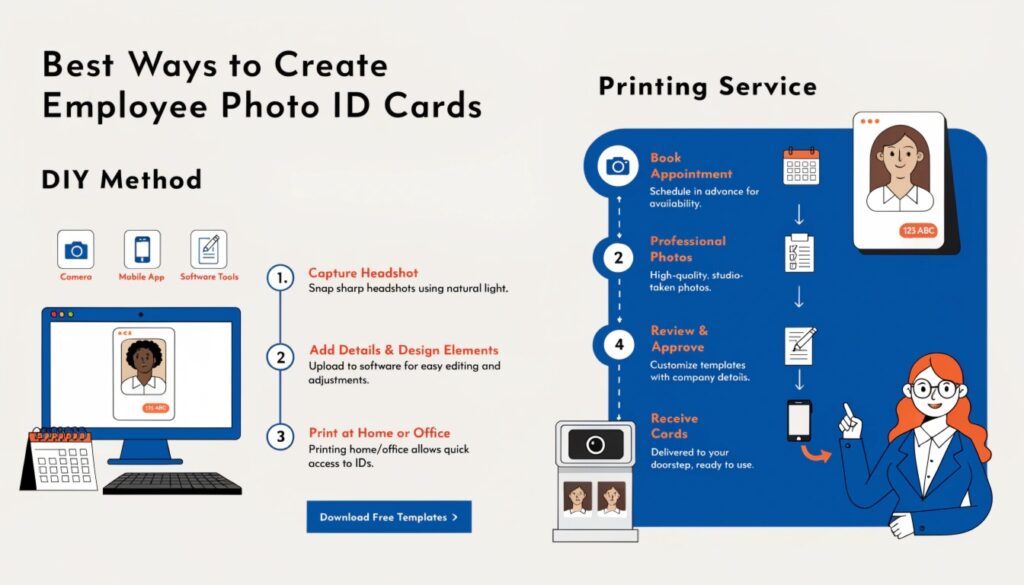
Option 1: In-House Printing for Maximum Control
If you have a high turnover or frequently hire new staff, buying your own ID card printer is the way to go. It gives you the flexibility to print a new card the second someone joins the team. You’ll need a dedicated workstation with a printer, a camera, and specialized software.
Option 2: Professional Outsourcing for High Quality
For many of my B2B clients who need 500+ cards at once, professional printing services like GENUINE are a lifesaver. You get access to high-end security features—like holograms or UV printing—without the massive upfront investment in hardware.
The Verdict: Which Path Should You Choose?
If you need cards instantly and have the staff to manage the printer, go in-house. If you want the most professional look with advanced security features, outsourcing is your best bet.
Essential Equipment and Design Considerations
Now that you’ve picked your path, let’s talk about the “meat” of the card. Don’t just slap a logo on a piece of plastic; think about how it will be used daily.
Selecting the Right ID Card Printer
If you go the in-house route, don’t skimp on the printer. There are two main types:
- Dye-Sublimation: Great for basic designs and budget-friendly.
- Re-transfer: The gold standard for “over-the-edge” printing and much more durable.
Security Features: Beyond Just a Photo
In today’s world, a simple photo isn’t enough to prevent forgery. I always recommend adding at least one of these:
- Holographic Overlays: Extremely hard to replicate.
- QR Codes: Instantly link to an employee’s digital profile.
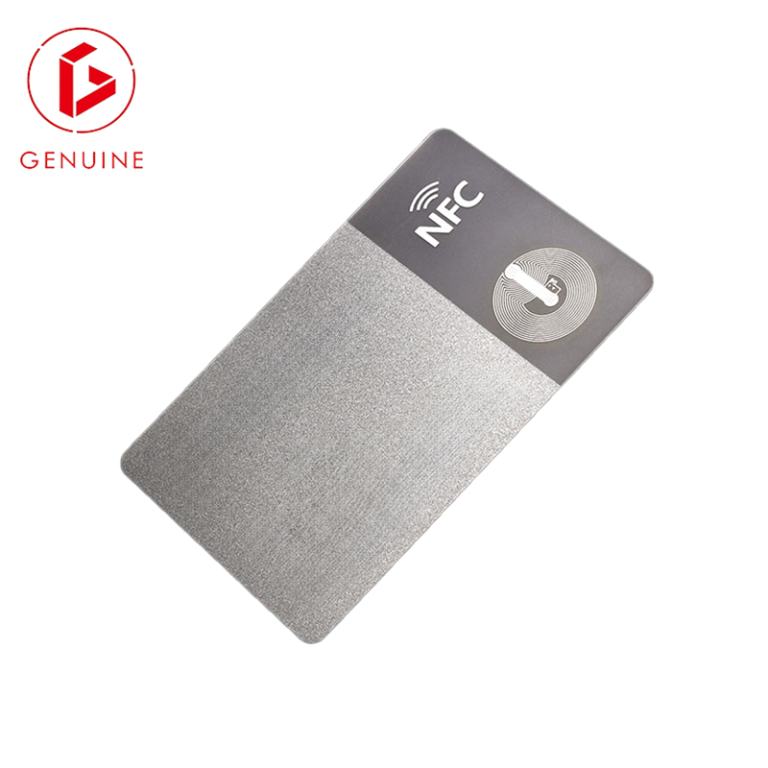
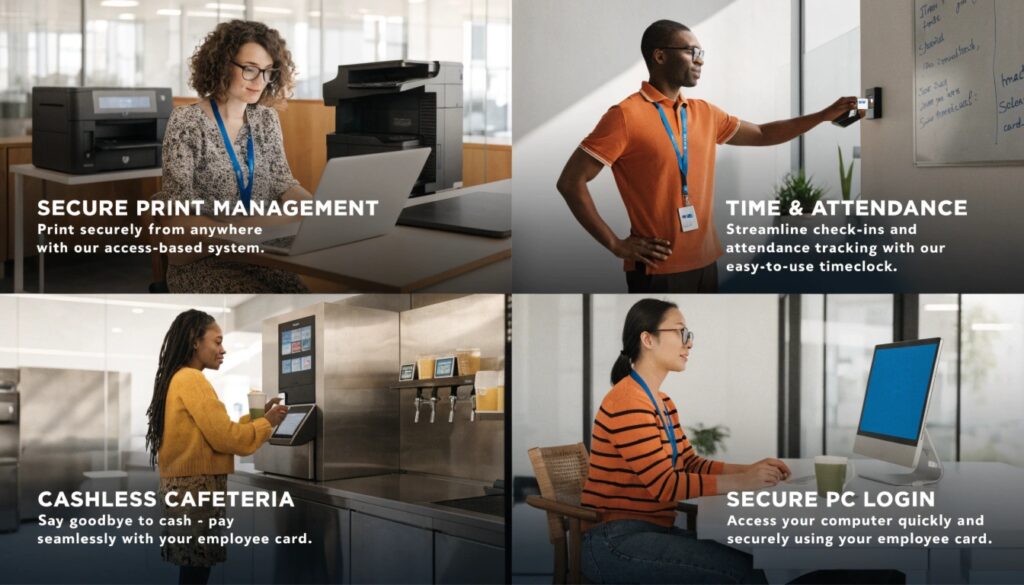
- RFID/Smart Chips: For secure door access.
Capturing High-Quality Employee Photos
I’ve seen some “mugshot” style IDs that look terrible. For a professional look, use a plain white or light blue background and ensure the lighting is even. It makes a huge difference in how your employees feel about wearing their badges.
| Feature | Standard PVC | Composite Card |
| Durability | Low – Medium | High |
| Best For | Standard IDs | Access Control / Smart Cards |
| Heat Resistance | Moderate | High (Perfect for lamination) |
Conclusion
Making photo ID cards doesn’t have to be a headache. Whether you choose to print them in-house or partner with an expert like GENUINE, the key is focusing on durability and security.
Which security feature are you most concerned about for your next batch of cards?